FREE SHIPPING ON ALL U.S. ORDERS!

FREE SHIPPING ON ALL U.S. ORDERS!

NEED HELP? Please Call Us At (888) 339-2987

NEED HELP? Please Call Us At (888) 339-2987

 A Tale of Two Tees

By: Nia Howard

Spliced Life is Good Tees

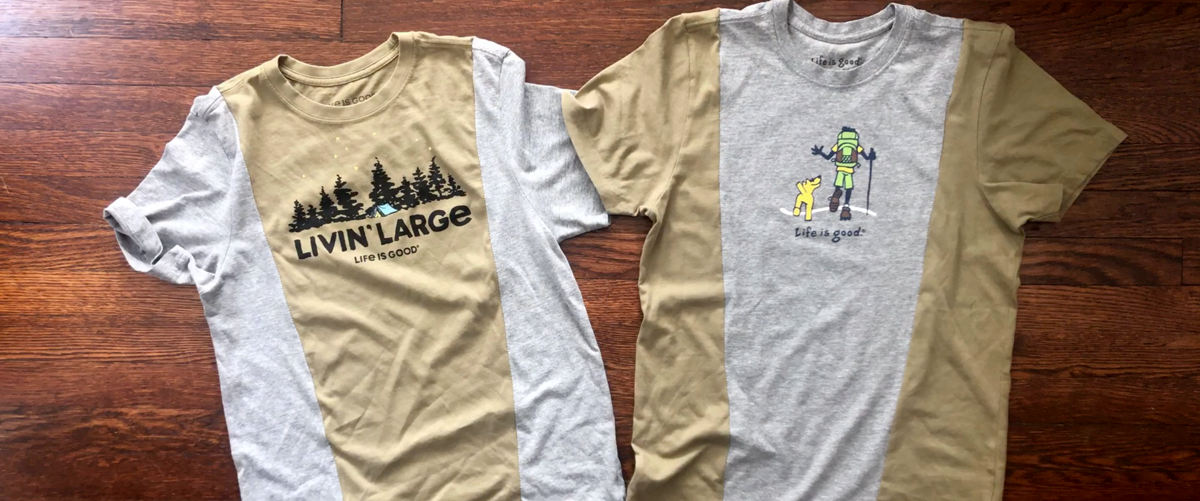
It happens to all of us: You’re getting ready for the day, but you freeze when you get to your closet. You just can’t decide between two of your favorite Life is Good tees. Trust us, we’ve been there. So we asked Life is Good Designer, Tess Hinterbichler, for some help, and her solution? Wear both! In this fun DIY, Tess shows us how we can splice together two tees into one design for double the good vibes.

What You’ll Need:

Spliced Tee Supplies

Watch the Tutorial:

Steps:

  1. Get two tees of similar size and shape.
  2. With a fabric marker, make a small cut mark on each shoulder, roughly two inches out from the neckline.
  3. With your measuring tape, create a diagonal line, starting at the shoulder cut mark, and angling the tape down and in, so it ends at the hem of your shirt. The hem cut marks should be roughly one inch closer to the center of the tee than your shoulder marks.
  4. Repeat this step from the other shoulder cut mark, down to the hem.
  5. Draw a line with your fabric marker from each shoulder mark down to the hem line marks. You should end up with a V shape line.
  6. Repeat steps 3-5 on your second shirt (the lines should be in the same place on both tees, so the pieces fit back together.)
  7. Once you’ve drawn your cut lines on both tees, carefully cut along the lines.
  8. Sew the outside pieces of fabric from tee #1 to the center piece of fabric on tee #2.
  9. To sew: flip your garments inside out, so the stitching is on the inside of the tee when you’re done. Tess recommends using a Z stitch.
  10. Start by sewing the right side panel to the front right of the center panel. Repeat this step to sew the back of the right panel to the back of the center panel.
  11. Finally, sew the left side panel to the front center panel, and then sew the back left side panel to the back of the center panel. You should end up with a completed tee.
  12. Repeat steps 8-11 to create your second tee.

This tutorial is part of our Life is Good@Home Series, featuring our talented Life is Good employees. If you liked this post, check out these other tutorials, led by Life is Good employees:

Tess Headshot

Tess Hinterbichler
Men’s & Kid’s Apparel Designer

Tess is the Men’s and Kid’s Apparel Designer at Life is Good. On the Product team, she designs new silhouettes, researches concepts/trends, and merchandises graphics and color to help create your latest Life is Good product.

Tell Us Something Good

Your stories of optimism have shaped and steered Life is Good from day one. THANK YOU and write on!

Share a Story
CLOSE X