Choose a shirt style for your art
close x
It seems like masks are going to be part of our new normal, folks, if only for a while. But just because your mouth is covered, doesn’t mean you can’t share a smile with those around you. That’s why we asked Lexy, a senior designer here at Life is Good, to show us how to repurpose a Life is Good tee into a face mask— so that you can continue to spread those good vibes without spreading any germs.

NO-SEW MATERIALS: A Life is Good tee, a tape measure, scissors, and two elastic bands (hair ties or rubber bands).
SEW MATERIALS: A Life is Good tee, a tape measure, a pair of scissors, taping (twill tape, ribbon, or shoelace), and needle and thread or sewing machine.
1. Cut a large piece of fabric out of the front of your tee (Tip: the piece used in the video is 16×18). Fold tee fabric in half and check to make sure your graphic is centered on one side. Fold tee fabric in half and check to make sure your graphic is centered on one side.
2. Flip over so the solid side is facing up and the graphic is facing your table. Fold the bottom half of your piece up towards the center. Fold the top half of your piece down over the top.
3. Take two elastic bands and slide each onto the ends of your folded fabric so it looks sectioned into thirds.
4. Fold each end in towards the center. You can tuck one side into the other so the folds stay more secure.
1. Cut two 9×6 pieces out of your tee. Make sure to center your graphic on one of them to have on the front of your mask. Put the right sides of your fabric together. Sew the two pieces together down the long sides only.
2. Flip the fabric right side out. Make 3 pleats (folds in the fabric, see video) on each of the short sides, and pin in place. Sew a stay stitch along each short side to keep the pleats in place.
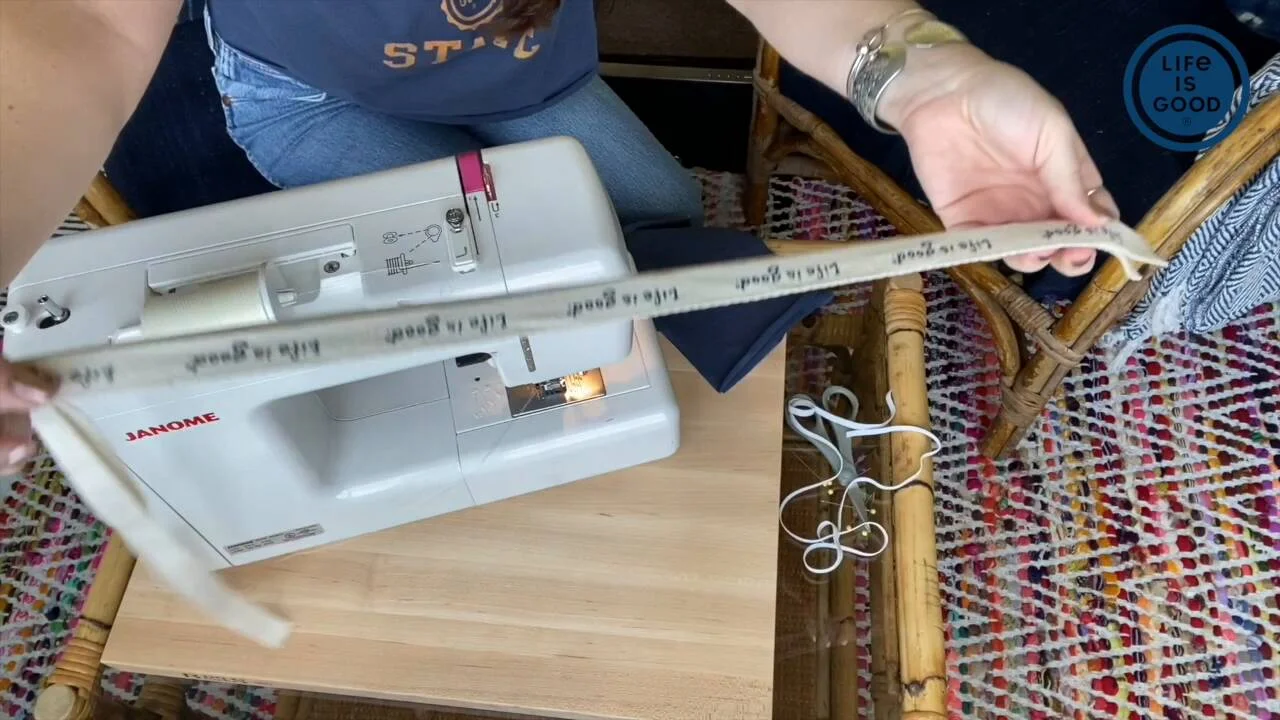
3. Cut your taping, twill tape, ribbon, or shoelace to the right length to tie around your head (Tip: Ties used in video are both 40” long).
Note: If your taping is as wide as the one in the video, fold the taping in half and insert the short side of mask into the fold—you will catch the mask in the taping when you sew. If your taping is skinnier, you can top apply and sew to the short ends of the mask.
4. Find the center of your ties and pin to the center of each short side of your mask.
Enjoy your new mask brought to you by Life is Good; we hope it brings out some much-needed smiles.
Your stories of optimism have shaped and steered Life is Good from day one. THANK YOU and write on!
Share a Story![[Collection id=255021781] - Hooded Fleece](https://images.lifeisgood.com/W_Fleece_hoodie copy.png)
![[Collection id=255021781] - Crew Neck Fleece](https://images.lifeisgood.com/W_Fleece_crew.png)
![[Collection id=1172499909] - Hooded Fleece](https://images.lifeisgood.com/M_Fleece_hoodie (1).png)
![[Collection id=1172499909] - Crew Neck Fleece](https://images.lifeisgood.com/M_Fleece_Crew.png)